

ACF inline DateTime Picker
Renders the ACF DateTime picker field inline rather than as a popup.
1. Table of Contents
- 2.1. Built With
- 2.2. Installation
- 3.1. [andyp_labs_stack]
- 3.2. [andyp_labs_rest]
2. About The Project
This is a duplication of the existing datetime field code, but renders inline rather than in a popup.
My extended explanation of the changes are on the ACF forum here: Inline datetime pickers?
2.1. Built With
This project was built with the following frameworks, technologies and software.
2.2. Installation
These are the steps to get up and running with this plugin.
- Clone the repo into your wordpress plugin foldergit clone https://github.com/IORoot/wp-plugin__acf--inline-datetime-field ./wp-content/plugins/acf_datetime_inline
- Activate the plugin.
3. Usage
Two things to know:
- The datetimepicker is an extension of the jQuery UI date picker. It has a known bug that will NOT allow the time to be set in inline mode. However, I have a fix for that.
- To activate inline mode, you need to target a <div> or <span> as the target for the datetimepicker instead of the <input> tag.
So, step one is to update the render_field method in the acf_field_date_and_time_picker.php file and class.
Just to keep to the style of the existing code, I inserted a new DIV using the acf methods here:
$text_input = array('class' => 'input','value' => $display_value,);$inline_calendar = array('class' => 'calendar-inline input');// html?><div <?php acf_esc_attr_e( $div ); ?>><?php acf_hidden_input( $hidden_input ); ?><?php // acf_text_input( $text_input ); ?><div <?php acf_esc_attr_e( $inline_calendar ); ?>></div></div><?php}
This will insert the div below the text input, and comment out the text input.
Next, update the acf-input.js file to edit the javascript of the picker.
Note that the datetimepicker is an extension of the date picker. So, around line 5811 there will be a definition for the date_picker and it will declare the $inputText.
$inputText: function(){return this.$('.calendar-inline');// return this.$('input[type="text"]');},
This should now return your .calendar-inline class instead of the <input> tag.
Lastly, a bit further down, in the date_time_picker section (not date_picker section) there is a declaration to add.newDateTimePicker on line 6031. We need to update that to update the calendar with the current time.
// addacf.newDateTimePicker = function( $input, args ){// bail ealry if no datepicker libraryif( typeof $.timepicker === 'undefined' ) {return false;}// defaultsargs = args || {};// NEW - Remember date/time$date = args.altField[0].value;// initialize (This wipes the datetime in inline mode)$picker = $input.datetimepicker( args );// update to current datetime with the value 2 lines above.$picker.datetimepicker('setDate', (new Date($date)) );// wrap the datepicker (only if it hasn't already been wrapped)if( $('body > #ui-datepicker-div').exists() ) {$('body > #ui-datepicker-div').wrap('<div class="acf-ui-datepicker" />');}};
We effectively store the datetime before we initialise the datetimepicker and then update it once it’s created.
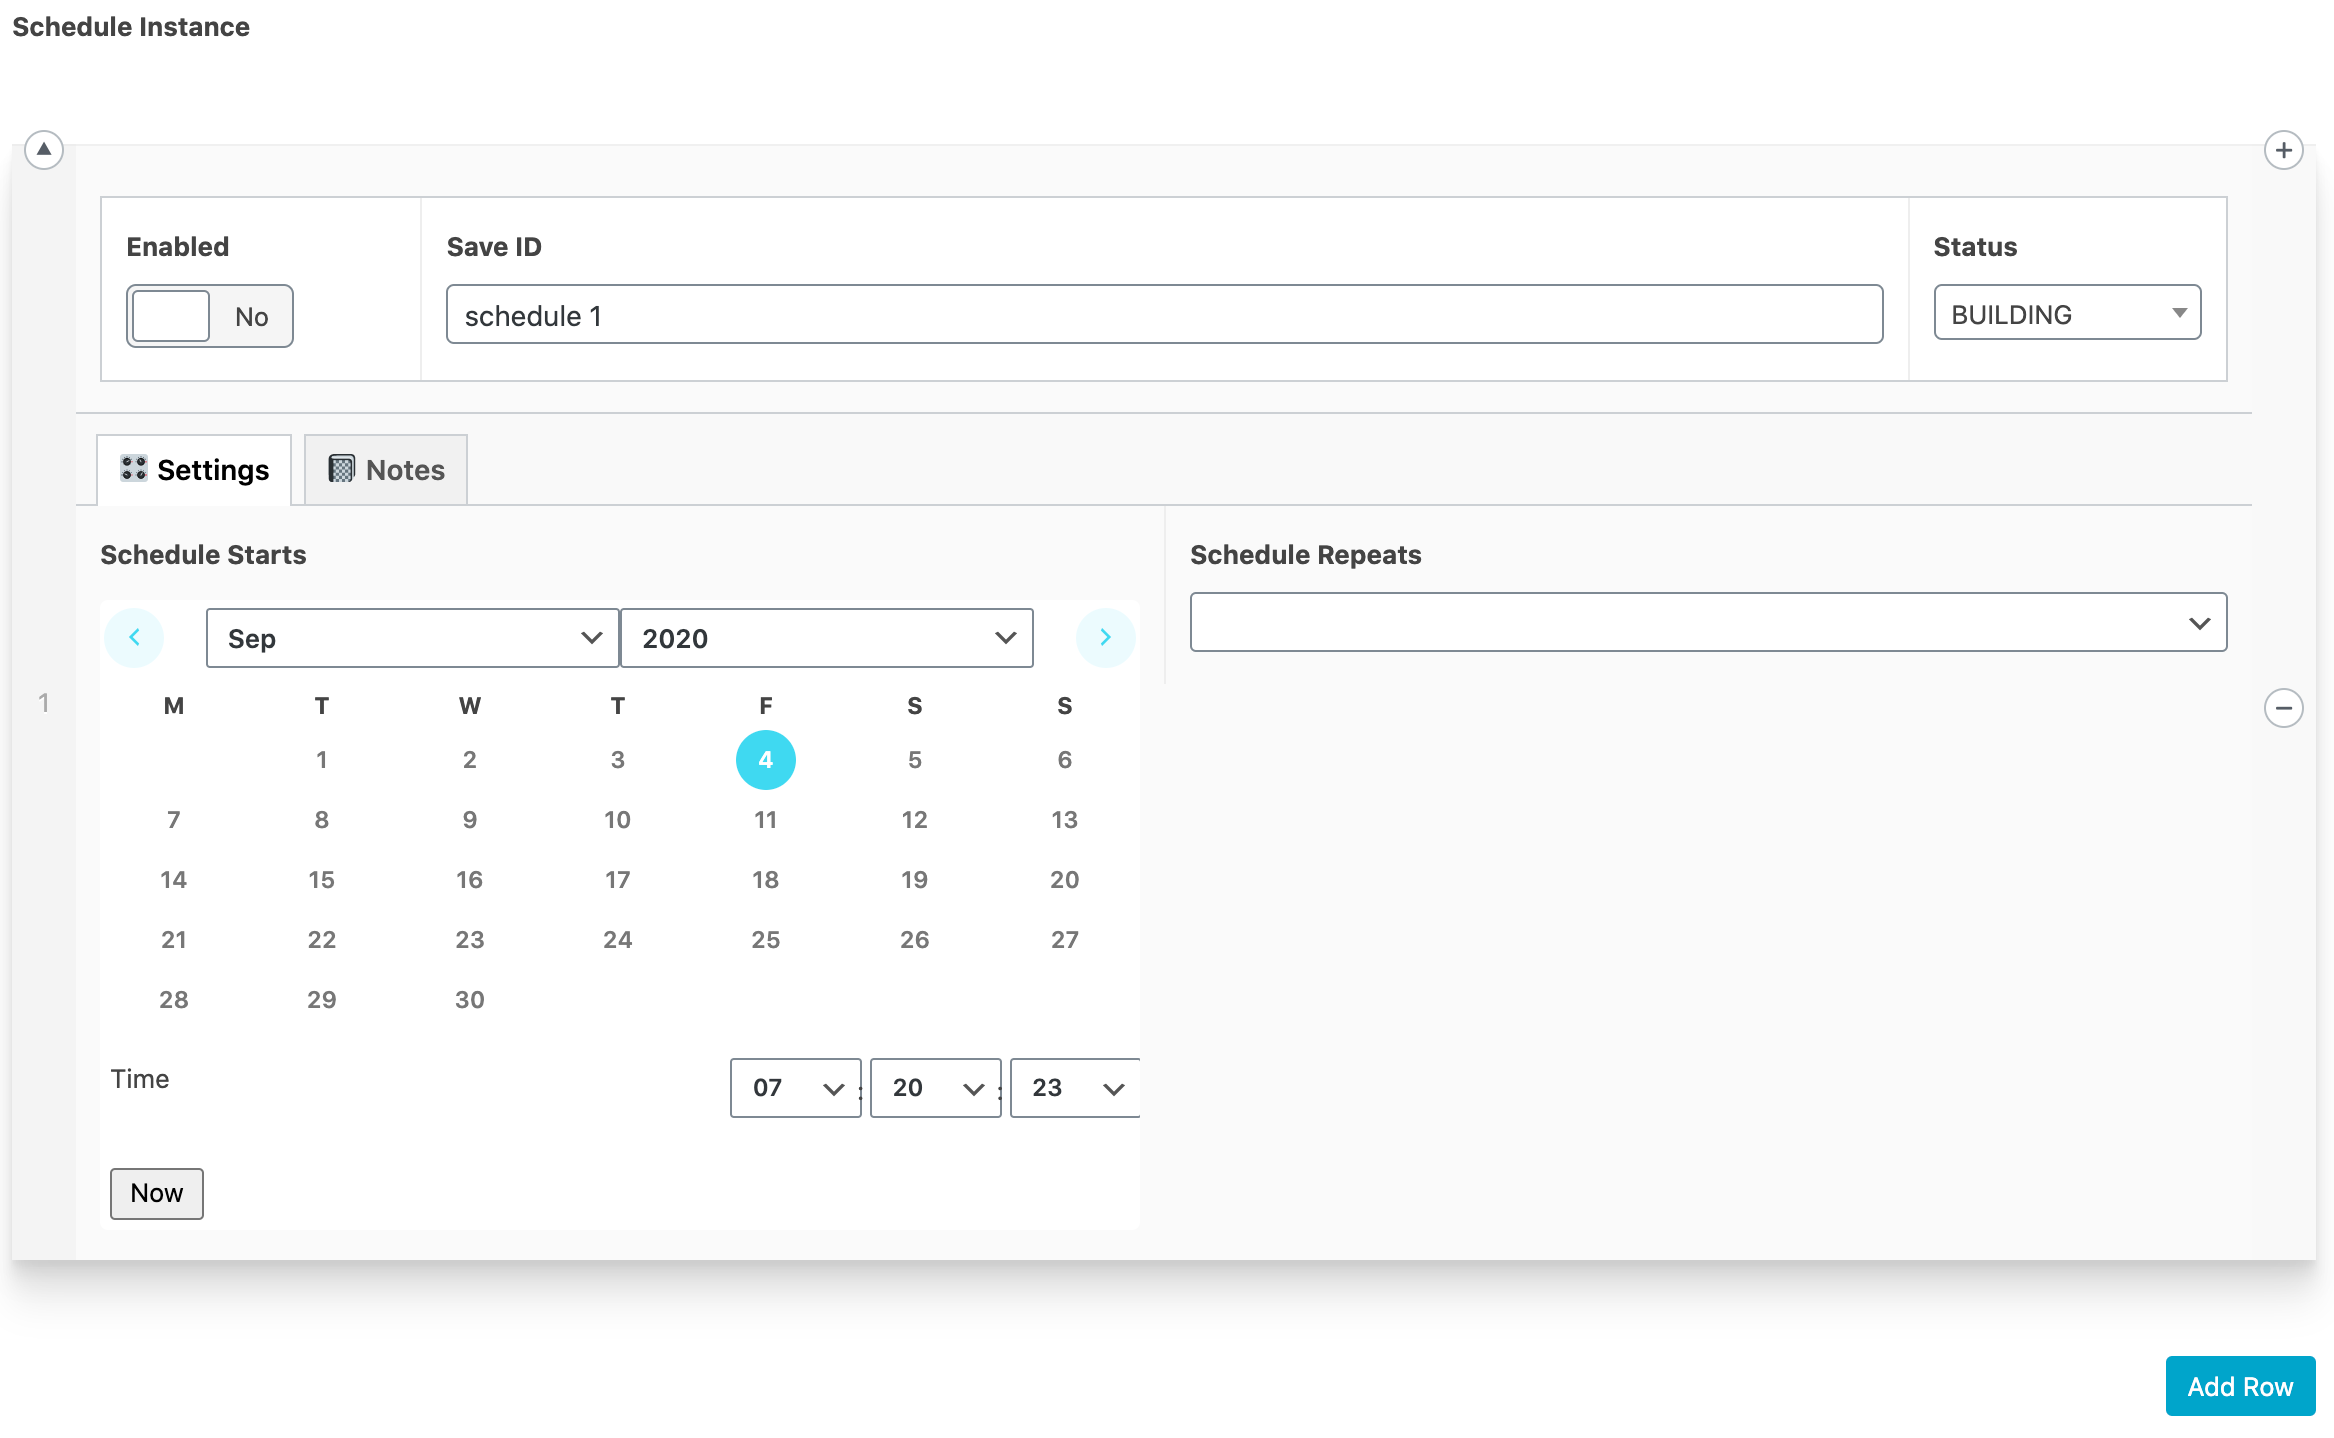
Now you should have an embedded calendar.
4. Customising
No customisation required.
5. Troubleshooting
Couple of gotchas:
- Remember to hard-reload and clear cache to reload the new JS.
- The acf-input.min.js gets loaded by default, you can test the acf-input.js by updating the /includes/assets.php file and the enqueue_script location OR just define the constant SCRIPT_DEBUG to use the non-minified version.
6. Contributing
Contributions are what make the open source community such an amazing place to learn, inspire, and create. Any contributions you make are greatly appreciated.
If you have a suggestion that would make this better, please fork the repo and create a pull request. You can also simply open an issue. Don't forget to give the project a star! Thanks again!
- Fork the Project
- Create your Feature Branch (git checkout -b feature/AmazingFeature)
- Commit your Changes (git commit -m 'Add some AmazingFeature')
- Push to the Branch (git push origin feature/AmazingFeature)
- Open a Pull Request
7. License
Distributed under the MIT License.
MIT License
Copyright (c) 2022 Andy Pearson
Permission is hereby granted, free of charge, to any person obtaining a copy of this software and associated documentation files (the "Software"), to deal in the Software without restriction, including without limitation the rights to use, copy, modify, merge, publish, distribute, sublicense, and/or sell copies of the Software, and to permit persons to whom the Software is furnished to do so, subject to the following conditions:
The above copyright notice and this permission notice shall be included in all copies or substantial portions of the Software.
THE SOFTWARE IS PROVIDED "AS IS", WITHOUT WARRANTY OF ANY KIND, EXPRESS OR IMPLIED, INCLUDING BUT NOT LIMITED TO THE WARRANTIES OF MERCHANTABILITY, FITNESS FOR A PARTICULAR PURPOSE AND NONINFRINGEMENT. IN NO EVENT SHALL THE AUTHORS OR COPYRIGHT HOLDERS BE LIABLE FOR ANY CLAIM, DAMAGES OR OTHER LIABILITY, WHETHER IN AN ACTION OF CONTRACT, TORT OR OTHERWISE, ARISING FROM, OUT OF OR IN CONNECTION WITH THE SOFTWARE OR THE USE OR OTHER DEALINGS IN THE SOFTWARE.
8. Contact
Author Link: https://github.com/IORoot