

Page-Builder Random Hero
Generates a random hero image for the front page OF LondonParkour.com (now removed).
1. Table of Contents
- 2.1. Built With
- 2.2. Installation
- 3.1. Hero Instance
- 3.2. Image Layers
- 3.3. SVG Layers
- 3.4. Text Layers
- 3.5. HTML Layers
- 3.6. Colour Layers
- 3.7. Z-Height order
2. About The Project

ACF-Based panels for a custom Hero slider for LondonParkour.
This randomises the output from a selection of images, SVGs, Text and Colours.
2.1. Built With
This project was built with the following frameworks, technologies and software.
2.2. Installation
These are the steps to get up and running with this plugin.
- Clone the repo into your wordpress plugin foldergit clone https://github.com/IORoot/wp-plugin__page-builder--hero ./wp-content/plugins/page-builder-random-hero
- Activate the plugin.
Note: This plugin requires the page-builder plugin to work https://github.com/IORoot/wp-plugin__page-builder
3. Usage
The hero randomiser plugin has six tabs:
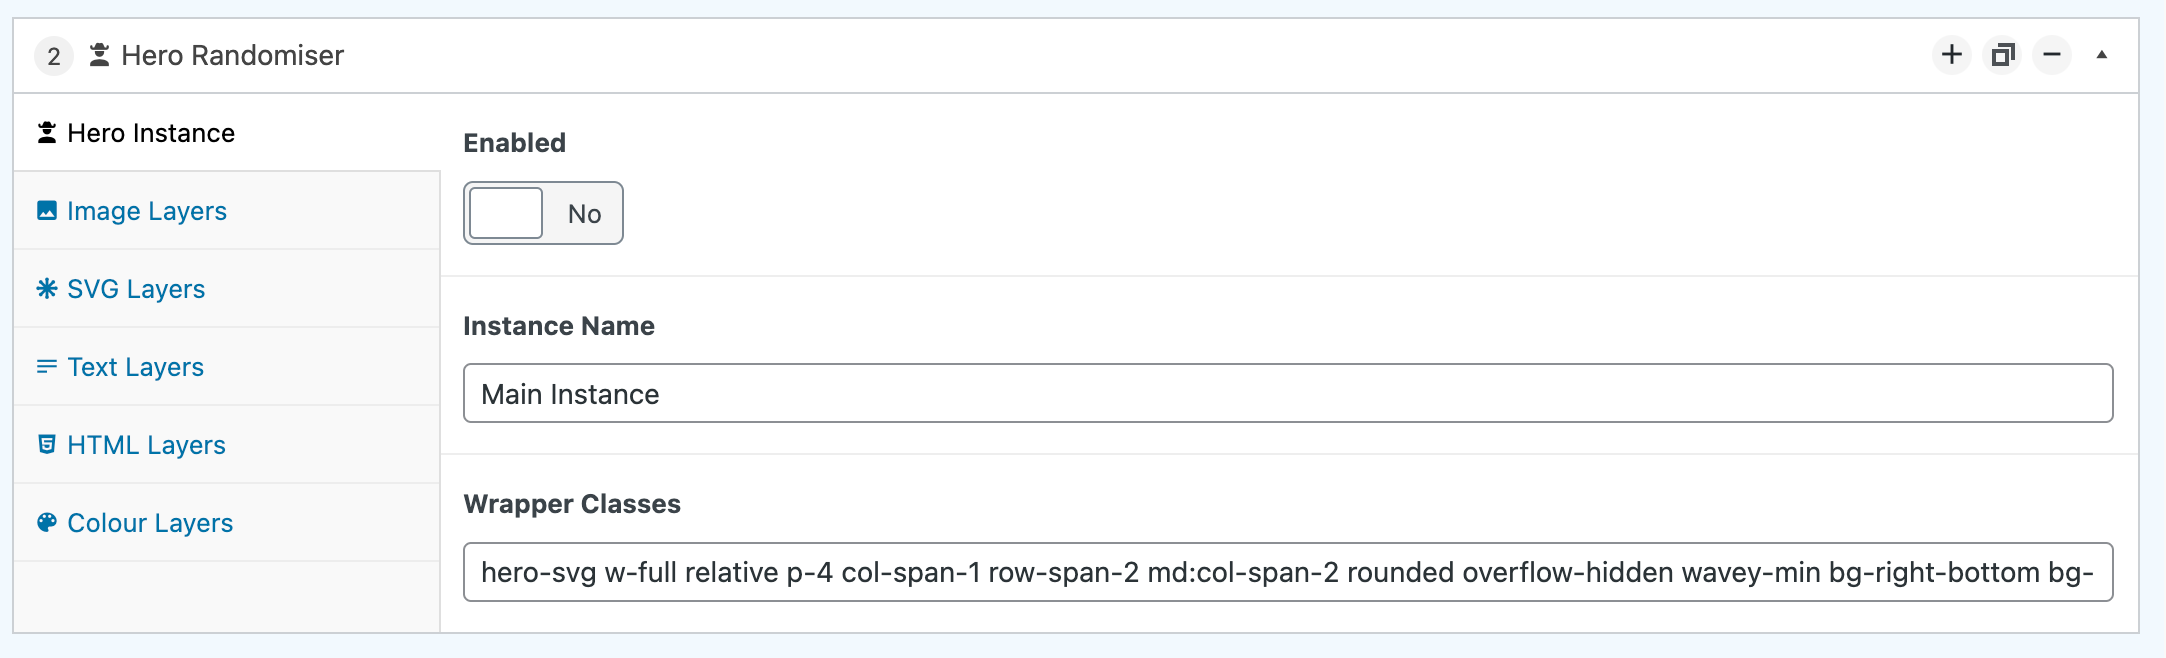
3.1. Hero Instance
- Enabled. Switch off to not render to the page.
- Instance Name. Differentiate between different instances and other blocks.
- Wrapper Classes. Give the wrapper DIV these class names.
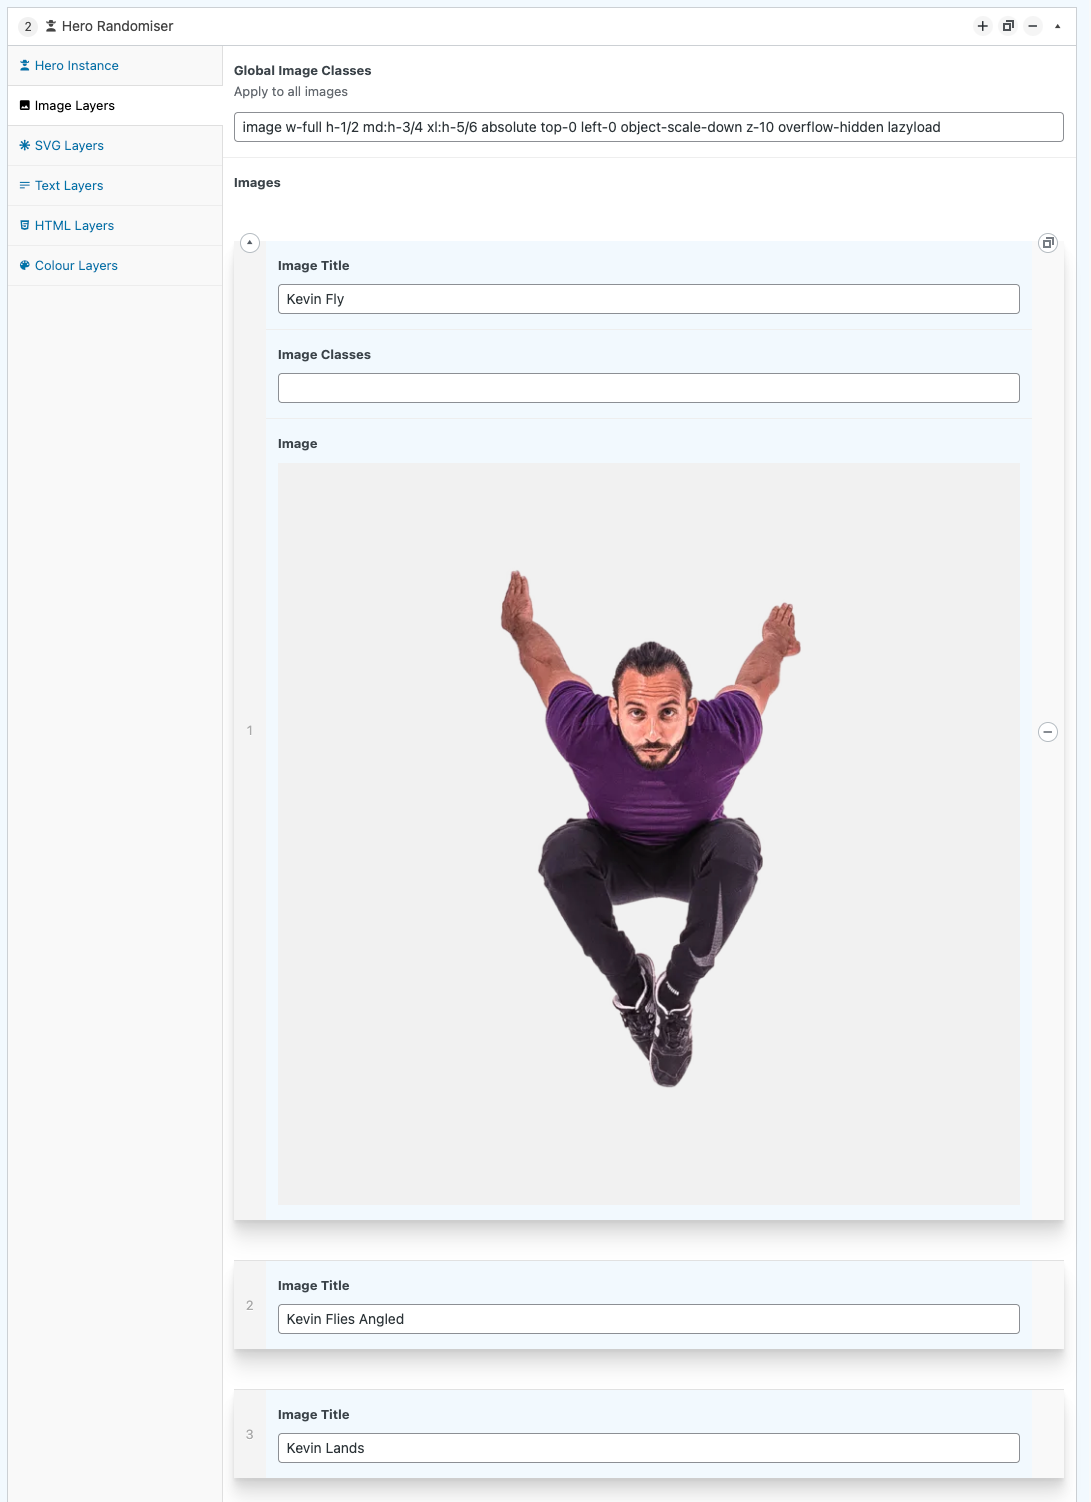
3.2. Image Layers
The first layer of the randomised hero. Add multiple image layers to randomly pick from them.
- Global Image Classes. These are the classes to give the image, regardless of which random one gets used.
- Images. (Row)
- Image Title. Title of the image.
- Image Classes. Specific class names to give to only this image.
- Image. Pick the image to use. (Preferably a .PNG with a transparent background)
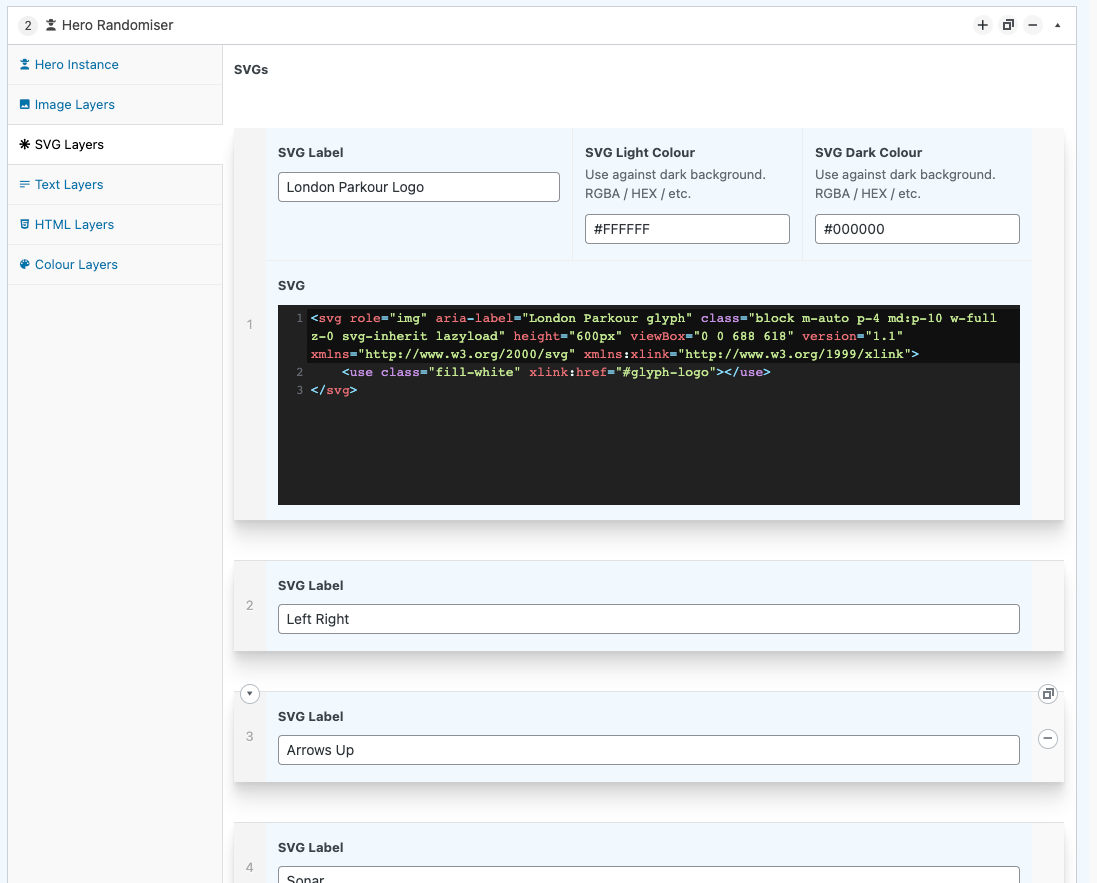
3.3. SVG Layers
One instance of the SVG Layers is picker to be rendered at random. This is rendered UNDER the Image.
- SVGs1. SVG Label. Identifing label to distinguish between others.1. SVG Light Colour. If the background is dark, then use this (lighter) colour to fill the SVG with.1. SVG Dark Colour. If the background is light, then use this (darker) colour to fill the SVG with.1. SVG. The SVG code to insert as a layer. Preferably use xlink:href symbols to make it more performant. Do not use fills - this will be dynamically done. e.g.```html<svg role="img" aria-label="London Parkour glyph" class="block m-auto p-4 md:p-10 w-full z-0 svg-inherit lazyload" height="600px" viewBox="0 0 688 618" version="1.1" xmlns="http://www.w3.org/2000/svg" xmlns:xlink="http://www.w3.org/1999/xlink"><use class="fill-white" xlink:href="#glyph-logo"></use></svg>```
3.4. Text Layers
Text layers are rendered above the image. Randomly pick from one of the rows added here.
- Title. The top title to render as an <h2>.
- Title Classes. Any class names to add the title tag.
- Subtitle. Render an <H3> tag with this text.
- Subtitle Classes. Any class names to add to the tag.
- Text Light Colour. CSS Colour to use on a dark background for the text.
- Text Light Class. Classes to add to the text if a dark background is used.
- Text Dark Colour. CSS Colour to use on a light background.
- Text Dark Class. Classes to add to the text if a light background is used.

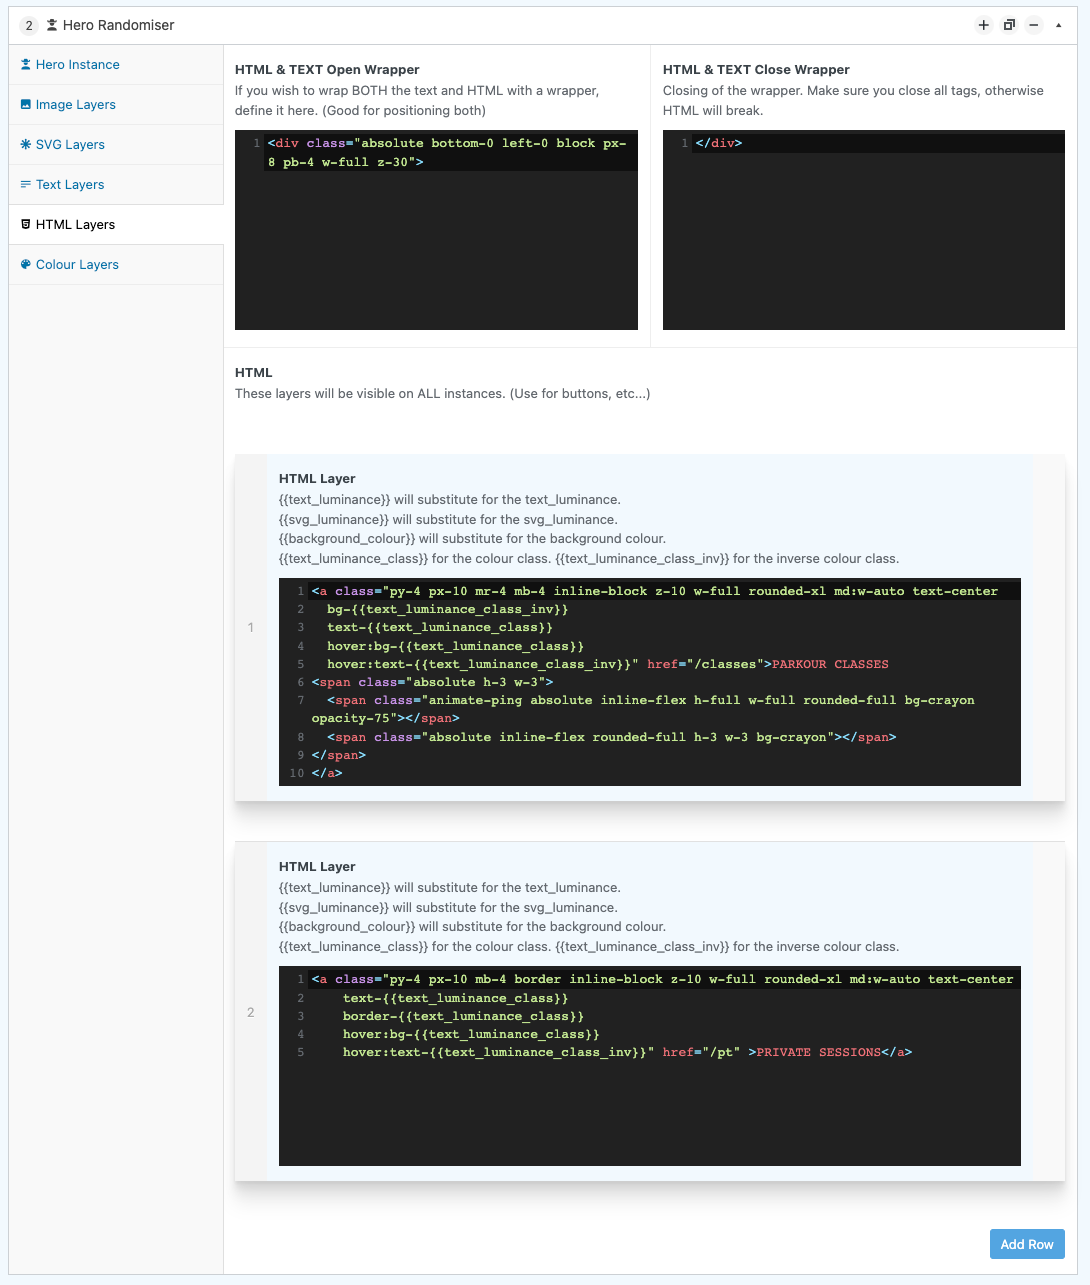
3.5. HTML Layers
HTML Layers can be any code you wish to add into the hero. These appear on ALL Layers and are not randomised. Rendered above everything else.
Used for the button links on LondonParkour.com
- HTML & TEXT Open Wrapper. The HTML code to use to wrap any HTML layers. e.g.
<div class="absolute bottom-0 left-0 block px-8 pb-4 w-full z-30">
- HTML & TEXT Close Wrapper. e.g.
</div>
- HTML. (Row)
- HTML Layer. Code to add as a layer. Uses moustaches for substitution for colours to match rest of the current hero style. Available moustaches are:
- {{text_luminance}} will substitute for the text_luminance.
- {{svg_luminance}} will substitute for the svg_luminance.
- {{background_colour}} will substitute for the background colour.
- {{text_luminance_class}} for the colour class.
- {{text_luminance_class_inv}} for the inverse colour class.
- HTML Layer. Code to add as a layer. Uses moustaches for substitution for colours to match rest of the current hero style. Available moustaches are:
Example:
<a class="py-4 px-10 mr-4 mb-4 inline-block z-10 w-full rounded-xl md:w-auto text-centerbg-{{text_luminance_class_inv}}text-{{text_luminance_class}}hover:bg-{{text_luminance_class}}hover:text-{{text_luminance_class_inv}}" href="/classes">PARKOUR CLASSES<span class="absolute h-3 w-3"><span class="animate-ping absolute inline-flex h-full w-full rounded-full bg-crayon opacity-75"></span><span class="absolute inline-flex rounded-full h-3 w-3 bg-crayon"></span></span></a>
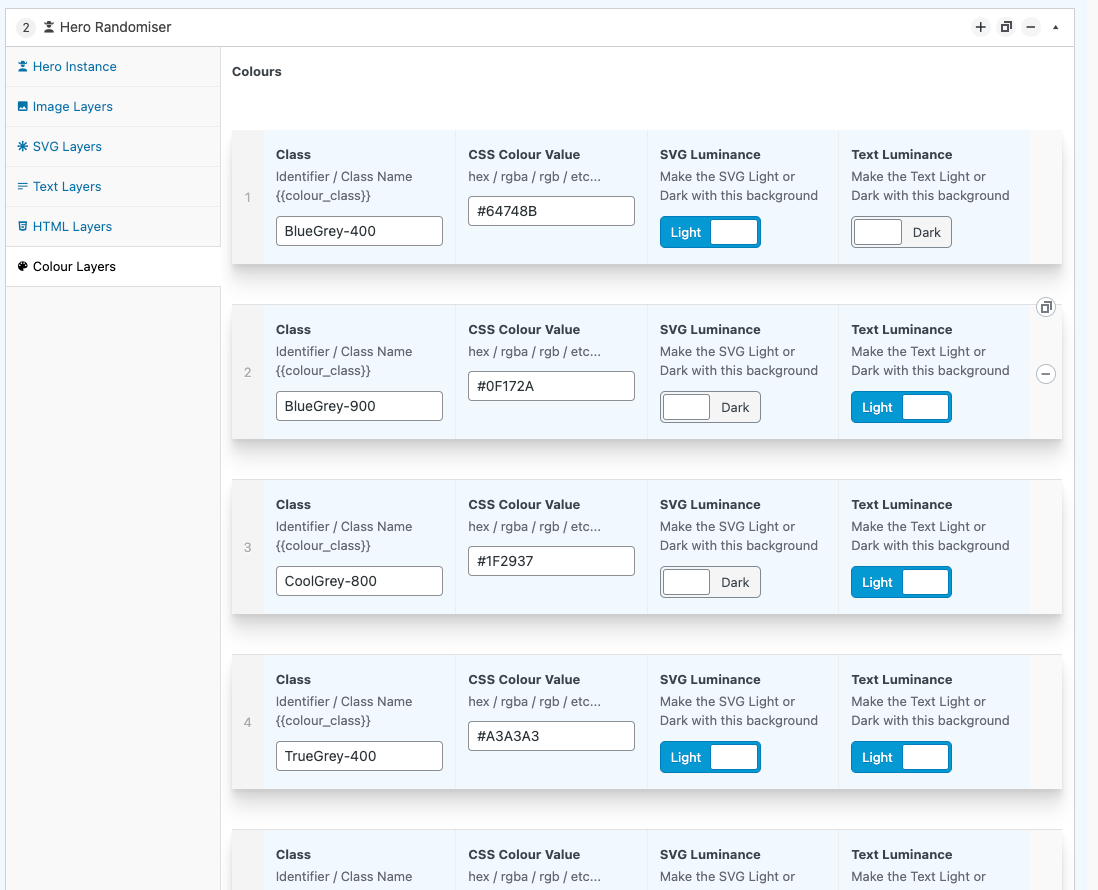
3.6. Colour Layers
Used for colouring the background and selecting which (light or dark) version of the SVG and Text should go with it.
- Class. Class name to add to the background.
- CSS Colour Value. Hex value of the background.
- SVG Luminance. Use the Light or Dark SVG Colour with this background. (Colour is picked in the SVG Tab)
- Text Luminance. Use the Light or Dark Text Colour with this background. (Colour is picked in the Text-Layers tab)
3.7. Z-Height order
Lowest to Highest:
- Background + Colour
- SVG
- Image
- Text
- HTML
4. Customising
None.
5. Troubleshooting
None.
6. Contributing
Contributions are what make the open source community such an amazing place to learn, inspire, and create. Any contributions you make are greatly appreciated.
If you have a suggestion that would make this better, please fork the repo and create a pull request. You can also simply open an issue. Don't forget to give the project a star! Thanks again!
- Fork the Project
- Create your Feature Branch (git checkout -b feature/AmazingFeature)
- Commit your Changes (git commit -m 'Add some AmazingFeature')
- Push to the Branch (git push origin feature/AmazingFeature)
- Open a Pull Request
7. License
Distributed under the MIT License.
MIT License
Copyright (c) 2022 Andy Pearson
Permission is hereby granted, free of charge, to any person obtaining a copy of this software and associated documentation files (the "Software"), to deal in the Software without restriction, including without limitation the rights to use, copy, modify, merge, publish, distribute, sublicense, and/or sell copies of the Software, and to permit persons to whom the Software is furnished to do so, subject to the following conditions:
The above copyright notice and this permission notice shall be included in all copies or substantial portions of the Software.
THE SOFTWARE IS PROVIDED "AS IS", WITHOUT WARRANTY OF ANY KIND, EXPRESS OR IMPLIED, INCLUDING BUT NOT LIMITED TO THE WARRANTIES OF MERCHANTABILITY, FITNESS FOR A PARTICULAR PURPOSE AND NONINFRINGEMENT. IN NO EVENT SHALL THE AUTHORS OR COPYRIGHT HOLDERS BE LIABLE FOR ANY CLAIM, DAMAGES OR OTHER LIABILITY, WHETHER IN AN ACTION OF CONTRACT, TORT OR OTHERWISE, ARISING FROM, OUT OF OR IN CONNECTION WITH THE SOFTWARE OR THE USE OR OTHER DEALINGS IN THE SOFTWARE.
8. Contact
Author Link: https://github.com/IORoot
9. Changelog
v1.0.0 - Initial Release